

Happy Tuesday, friends! I’ve started some Christmas projects! I thought it might be too soon to start Christmas crafting or decorating but I figured, deck the dang halls and never look back. The Christmas season is just too potent to stay away, so I won’t.
Supplies
- Plastic snow globes or glass Mason jars (both found in local craft stores).
- Fake loose snow, foam balls, glitter, snowflake confetti or anything else you want to use for shaking.
- Small trinkets/figurines for the inside, usually 1:12 scale. These can found at a dollar store or your local craft store. Some ideas are: Trees, reindeer, Santas, animals, elves, etc.
- Industrial strength glue or glue gun.
- Optional: To make yours with water, use distilled water and glycerin.

Directions
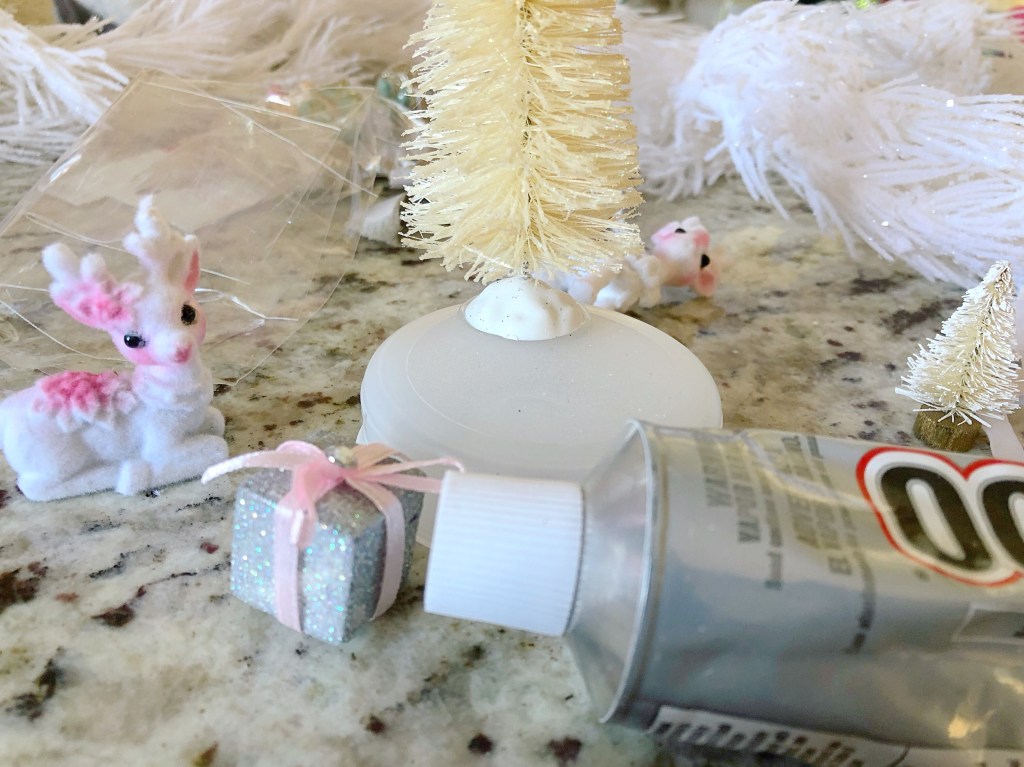
- Start by planning out your globe before you actually glue anything down. Remove the lid from your globe or Mason jar and plan out the design. You’ll be gluing the items to the seal-the interior seal for the globe or the seal for the Mason jar. So be sure to leave room around the edges so you can easily close it when done.
- Once you’re happy with your design, it’s time to glue the pieces down. Simply add glue to the bottom of the figurines or decorations and let sit to dry completely before the next step. This can take several hours. You can touch the pieces to check if they’re dried or not.
3. Once the items are glued and secure, it’s time to fill the globe. Pour in the loose fake snow, foam balls, glitter and confetti, or whatever you plan to add, into the ball or the Mason jar.

4. Take the seal, with the glued items, and insert upside down, carefully into the globe or Mason jar. Twist tightly and turn right side up. Give it a shake and see if you need to add more snow or confetti, or remove any, since you don’t want to cover the figurines too much.
5. If adding water, just pour water and add a few drops of glycerin. Stir it around using a spoon or stick to see how the snow and glitter falls to determine if you need more glycerin before sealing. If using the water method, once sealed, add some glue around the seal to prevent leaking.

If you’re like me, modern or vintage with a touch of pink is my Christmas jam. So below are some sweet options that will go great in any style decor!


This craft is truly magical and addicting. It’s so fun for the entire family so I hope you enjoy!

CUTE!!!!!!!!!!!!!!!!!
LikeLike